Difference between revisions of "Hardware: Raspberry Pi - Matrix Pi"
Lukas Dzunko (talk | contribs) (→step 2) |
Lukas Dzunko (talk | contribs) (→step 4) |
||
| Line 28: | Line 28: | ||
log to newly installed raspbian system and execute: | log to newly installed raspbian system and execute: | ||
<pre> | <pre> | ||
| − | bash -x /boot/post-install.txt | + | bash -x /boot/post-install.txt install |
</pre> | </pre> | ||
==== step 5 ==== | ==== step 5 ==== | ||
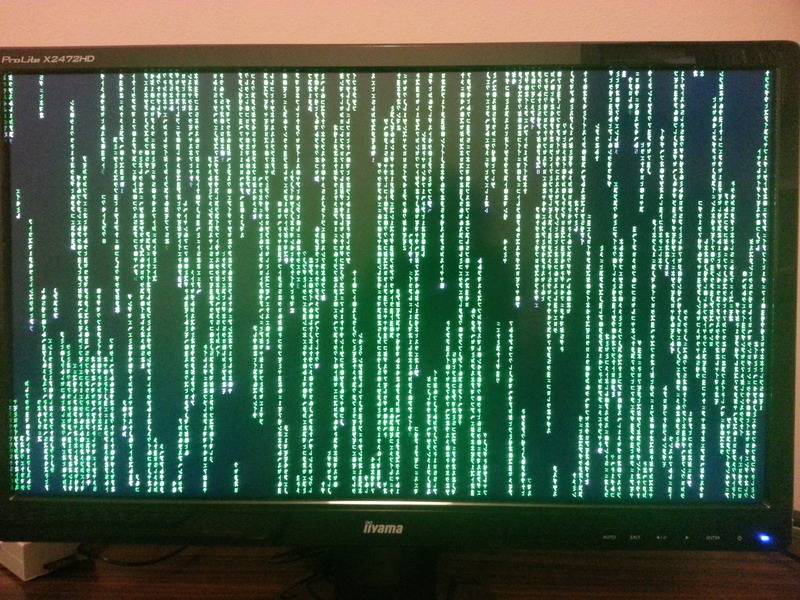
Enjoy matrix display on your monitor :o) | Enjoy matrix display on your monitor :o) | ||
Revision as of 19:28, 24 August 2014
This is quick and dirty way how to get my "Matrix Pi" operating.
The intent is not to provide lightweight Matrix like display but to configure my development environment. My UI is not ready yet but I want to test video output and stability under CPU load. Cmatrix is providing both, nice looking output and is using lot of CPU. In future I'll replace it with my UI ...
How to install
I am using raspbian-ua-netinst as it don't require interaction during install. Good thing is that installer-config.txt and post-install.txt are retained during re-install. I put my configuration script inside post-install.txt in way that installer is ignoring it but I can invoke it later after system is installed.
step 1
Download installer and unpack it on SD card (for details check raspbian-ua-netinst).
step 2
Add installer-config.txt and post-install.txt.
Note 1: MediaWiki is capitalizing names. If downloaded files are not in lowercase then correct file name.
mv Installer-config.txt installer-config.txt
mv Post-install.txt post-install.txt
Note 2: installer-config.txt is only template. You should fill-in it (btrfs is required by post-install.txt)
step 3
wait for installer to do it's job
step 4
log to newly installed raspbian system and execute:
bash -x /boot/post-install.txt install
step 5
Enjoy matrix display on your monitor :o)
